Accessing Virtual Labs
This documentation provides a step-by-step guide for accessing virtual labs using public IPv6 addresses using SSH, noVNC, and Xterm.js. Virtual labs allow users to simulate real-world environments for learning, development, and testing purposes.
Accessing Virtual Labs using SSH
Section titled “Accessing Virtual Labs using SSH”Programs for using SSH:
Section titled “Programs for using SSH:”- Linux → Terminal
- macOS → Terminal, iTerm
- Windows → CMD, Terminal, WSL
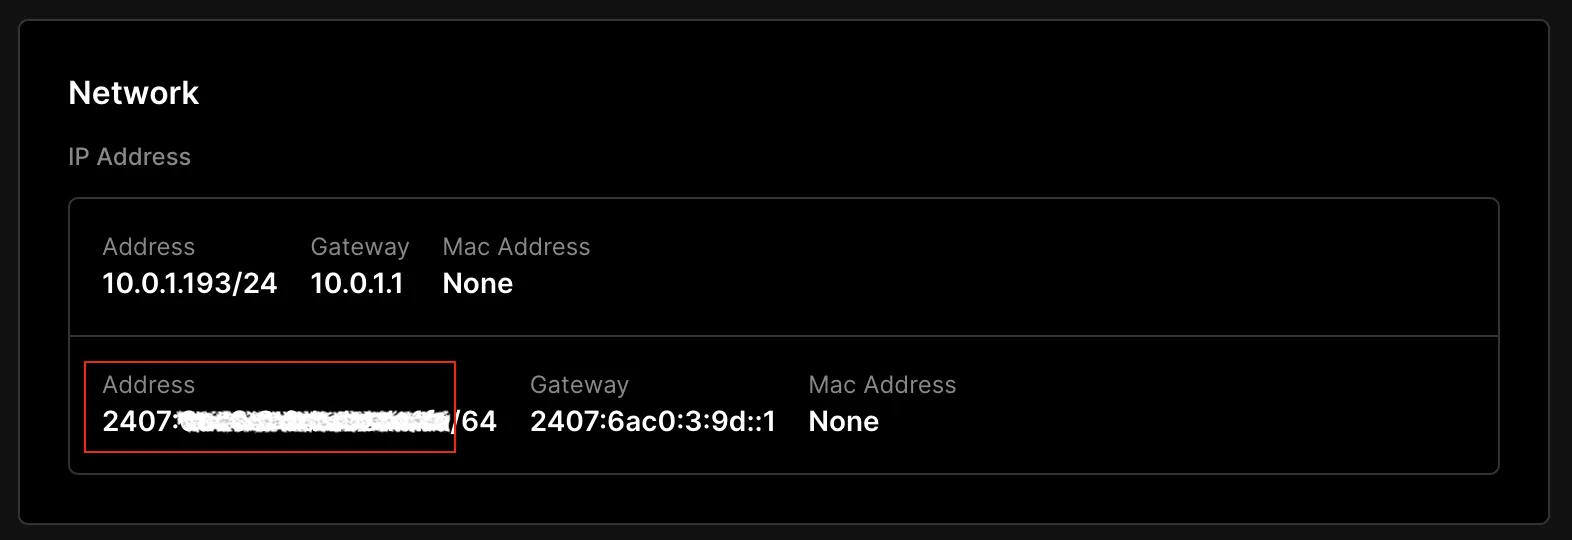
Find Public IP
Section titled “Find Public IP”You can find your public IP here. 8Labs only provides public IPv6 for virtual labs.
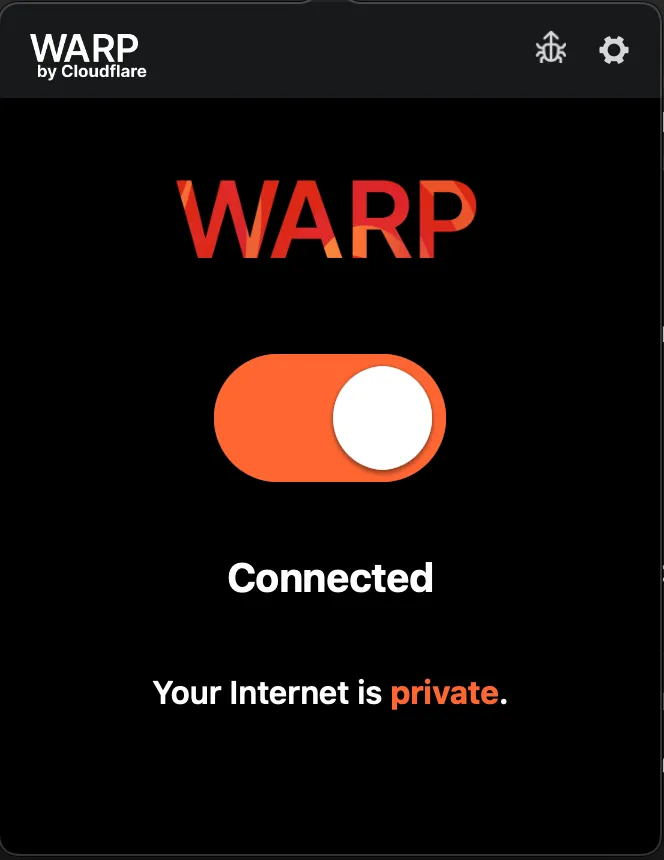
If you cannot connect to public IPv6 because your home network doesn’t have IPv6, the easiest way is to use WARP by Cloudflare (free) as a VPN or Tunnel Broker solution.
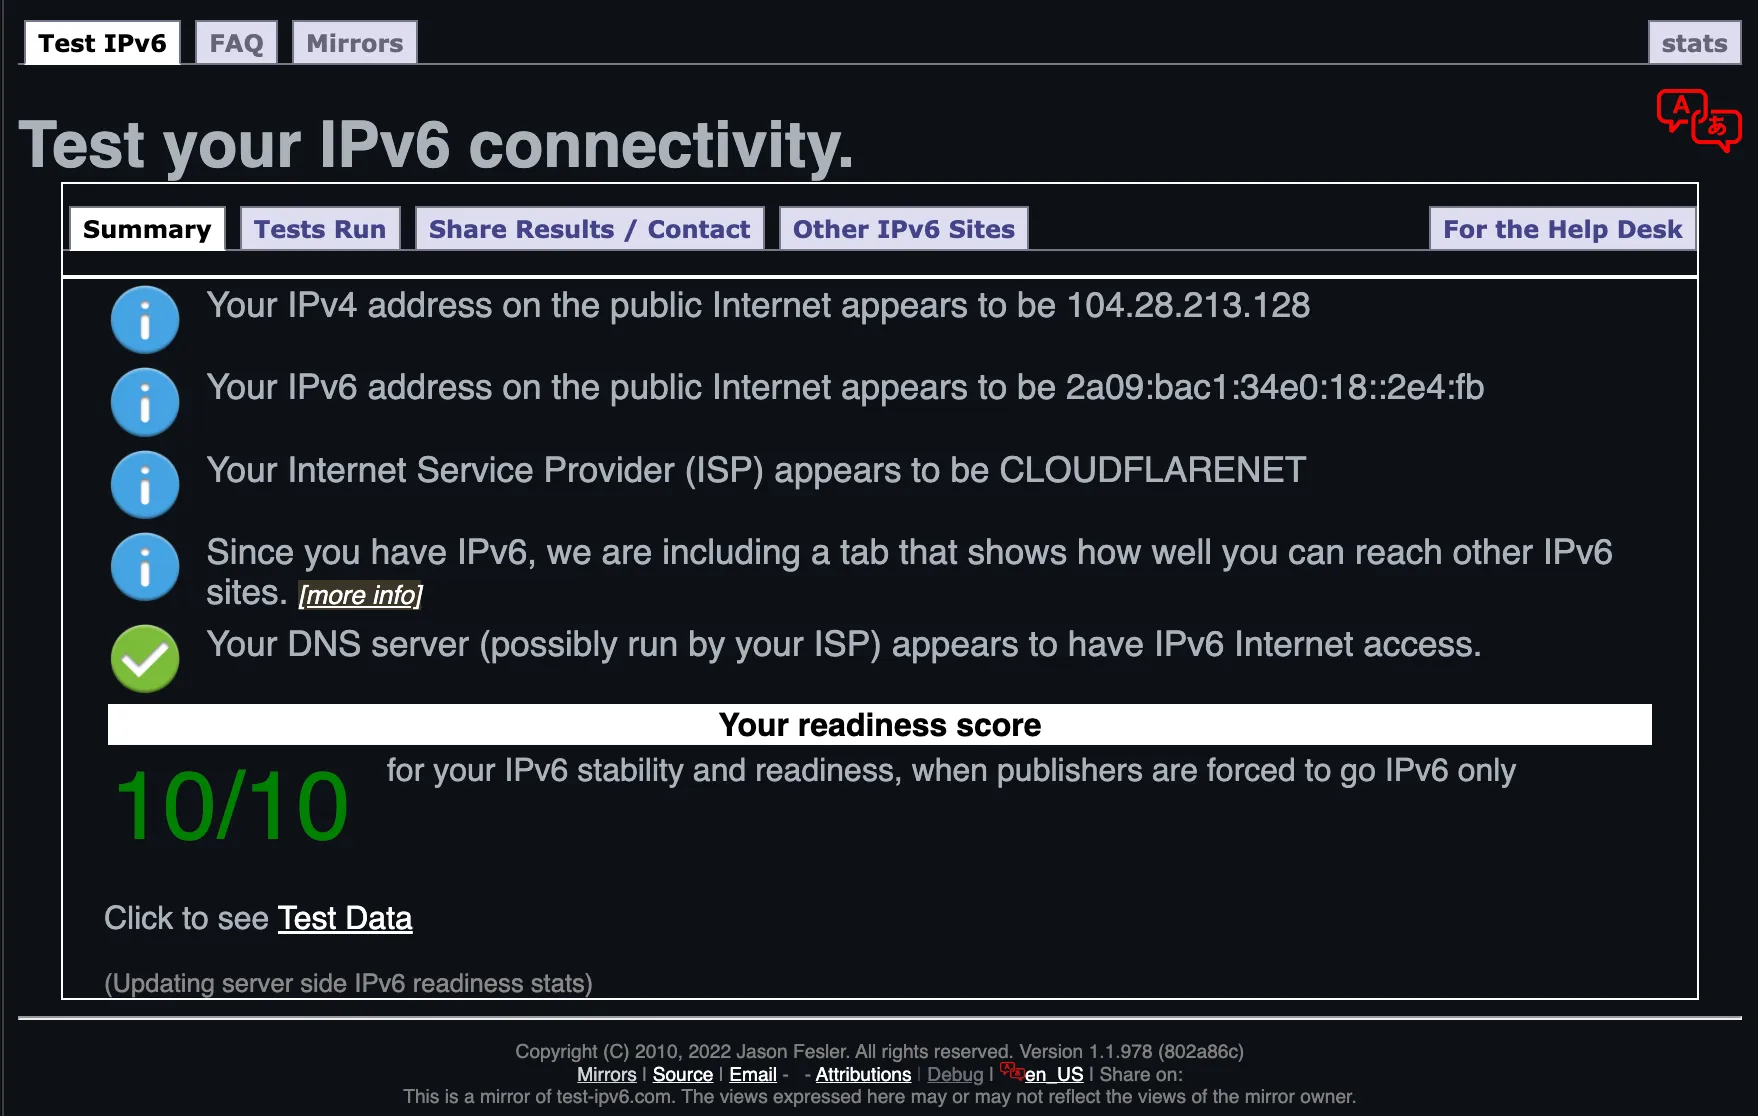
Check IPv6 Connectivity
Section titled “Check IPv6 Connectivity”You can check IPv6 connectivity here: test-ipv6.com
Execute SSH
Section titled “Execute SSH”Type this command in your terminal to connect to your machine:
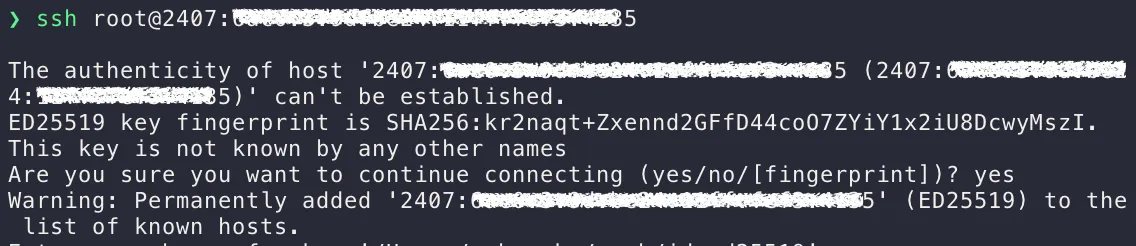
ssh <username>@<public_ip> -p <ssh_port># example user 'root' connecting to public IPv4# example user 'ubuntu' connecting to public IPv6ssh ubuntu@2001:db8::1 -p 22After you run the SSH command for the first time, you will be asked about the fingerprint. You can just type “yes” to store the fingerprint.
Then type in your password. It will not appear on the terminal screen, so make sure you type it correctly.
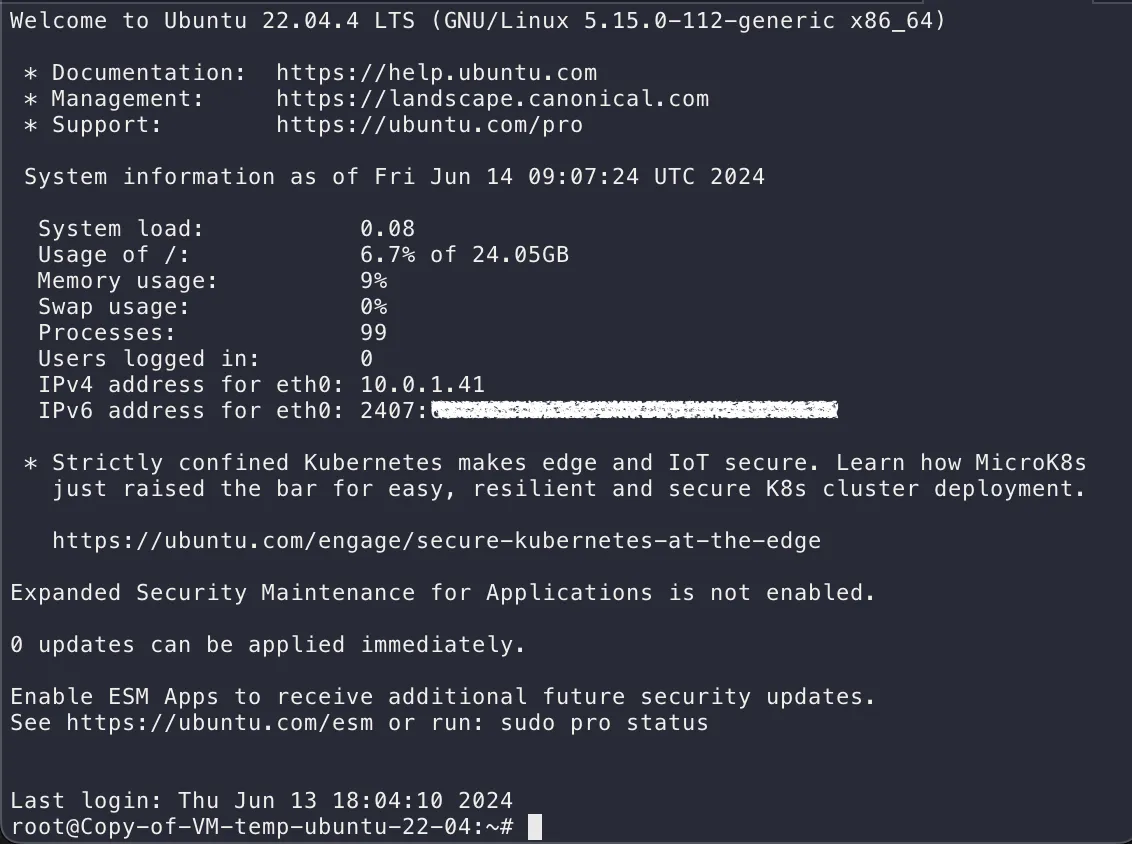
This is the landing information about your machine.
Accessing Virtual Labs using noVNC
Section titled “Accessing Virtual Labs using noVNC”- Access from cloud.8labs.id: Open your browser and go to cloud.8labs.id.
- Click here:
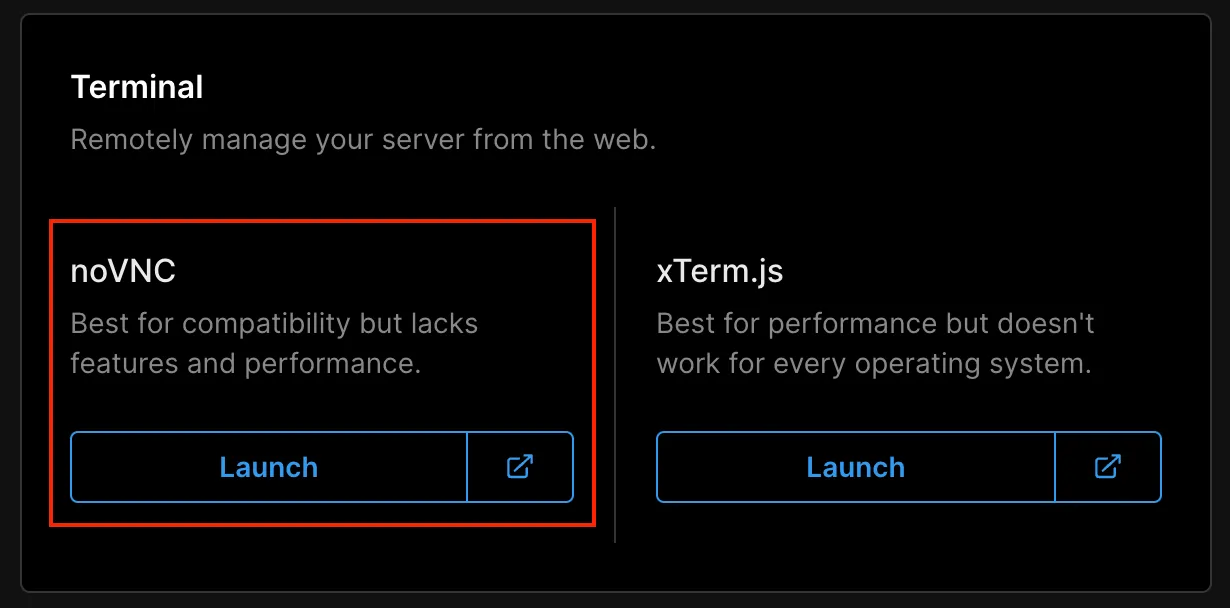
- Redirect to web console: You will be redirected to the noVNC web console.
- Login using credentials: Use the default username
rootand the password you set.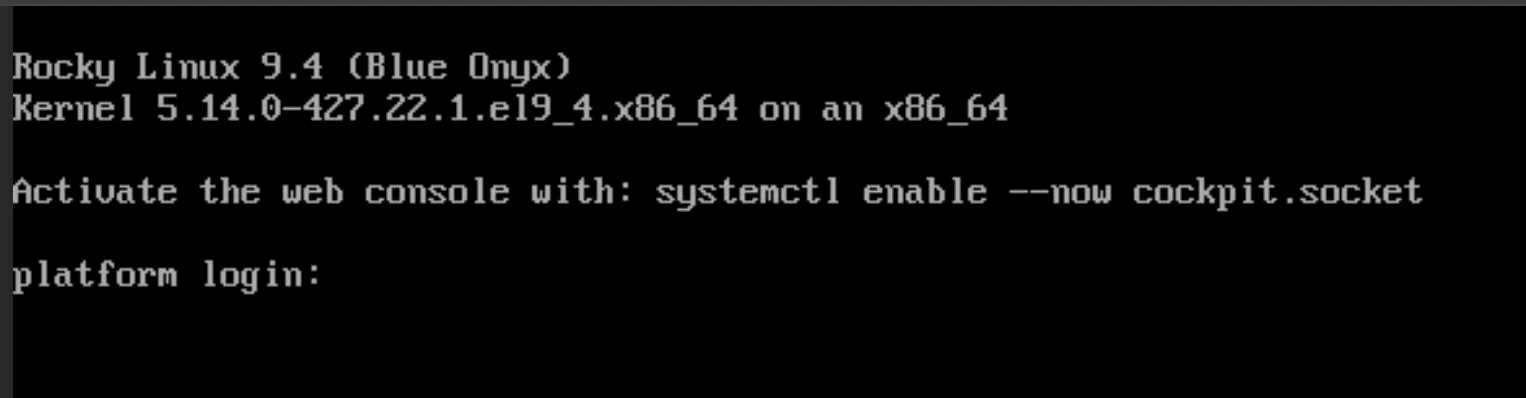
Accessing Virtual Labs using Xterm.js
Section titled “Accessing Virtual Labs using Xterm.js”- Access from cloud.8labs.id: Open your browser and go to cloud.8labs.id.
- Click here:

- Redirect to web console: You will be redirected to the Xterm.js web console.
- Once the screen appears: press “Enter” on your keyboard.
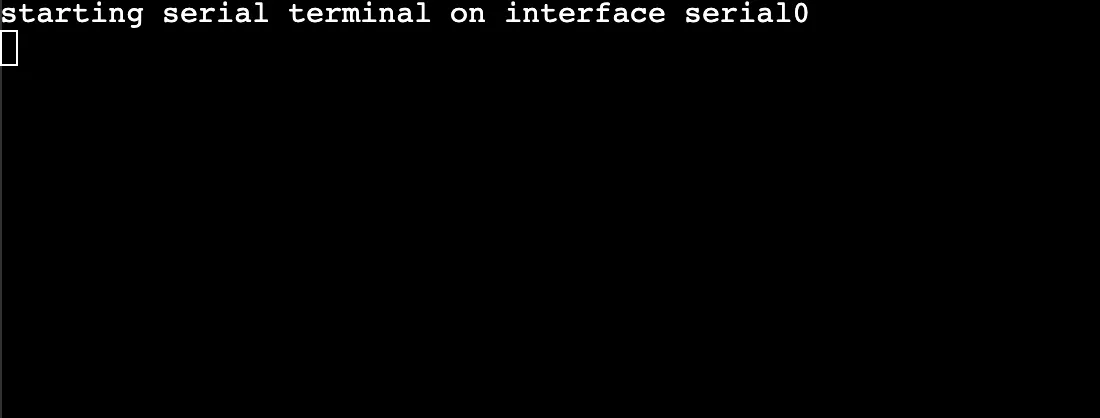
- Login using credentials: Use the default username
rootand the password you set.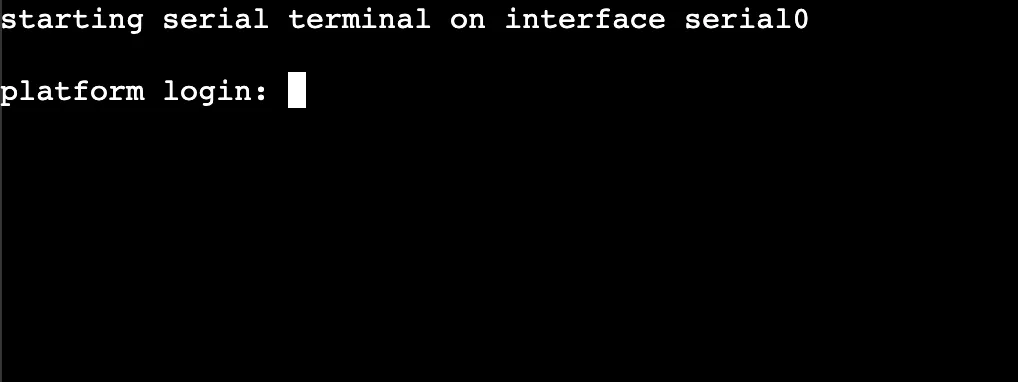
By following these steps, you can seamlessly access virtual labs using SSH over public IPv6 addresses, noVNC, and Xterm.js.
Troubleshooting
Section titled “Troubleshooting”Cannot Access via SSH
Section titled “Cannot Access via SSH”If you encounter an error like this:
 You can access the Virtual Labs using Xterm.js first. Log in with your credentials and execute the following commands:
### Enable SSH accesssed -i -e "s/^#Port 22/Port 22/" -e "s/^#AddressFamily any/AddressFamily any/" -e "s/^#ListenAddress 0.0.0.0/ListenAddress 0.0.0.0/" -e "s/^#ListenAddress ::/ListenAddress ::/" /etc/ssh/sshd_config
### Allow PasswordAuthenticationsed -i "/^#PasswordAuthentication[[:space:]]/cPasswordAuthentication yes" /etc/ssh/sshd_config && sed -i "/^PasswordAuthentication no/cPasswordAuthentication yes" /etc/ssh/sshd_config
### Enable root SSH loginsed -i "s/^#PermitRootLogin prohibit-password/PermitRootLogin yes/" /etc/ssh/sshd_config
These commands will modify the SSH configuration to enable access, allow password authentication, and permit root login.