Production-Ready VPS: Multi-Node Edition
Production-Ready VPS: Multi-Node Edition
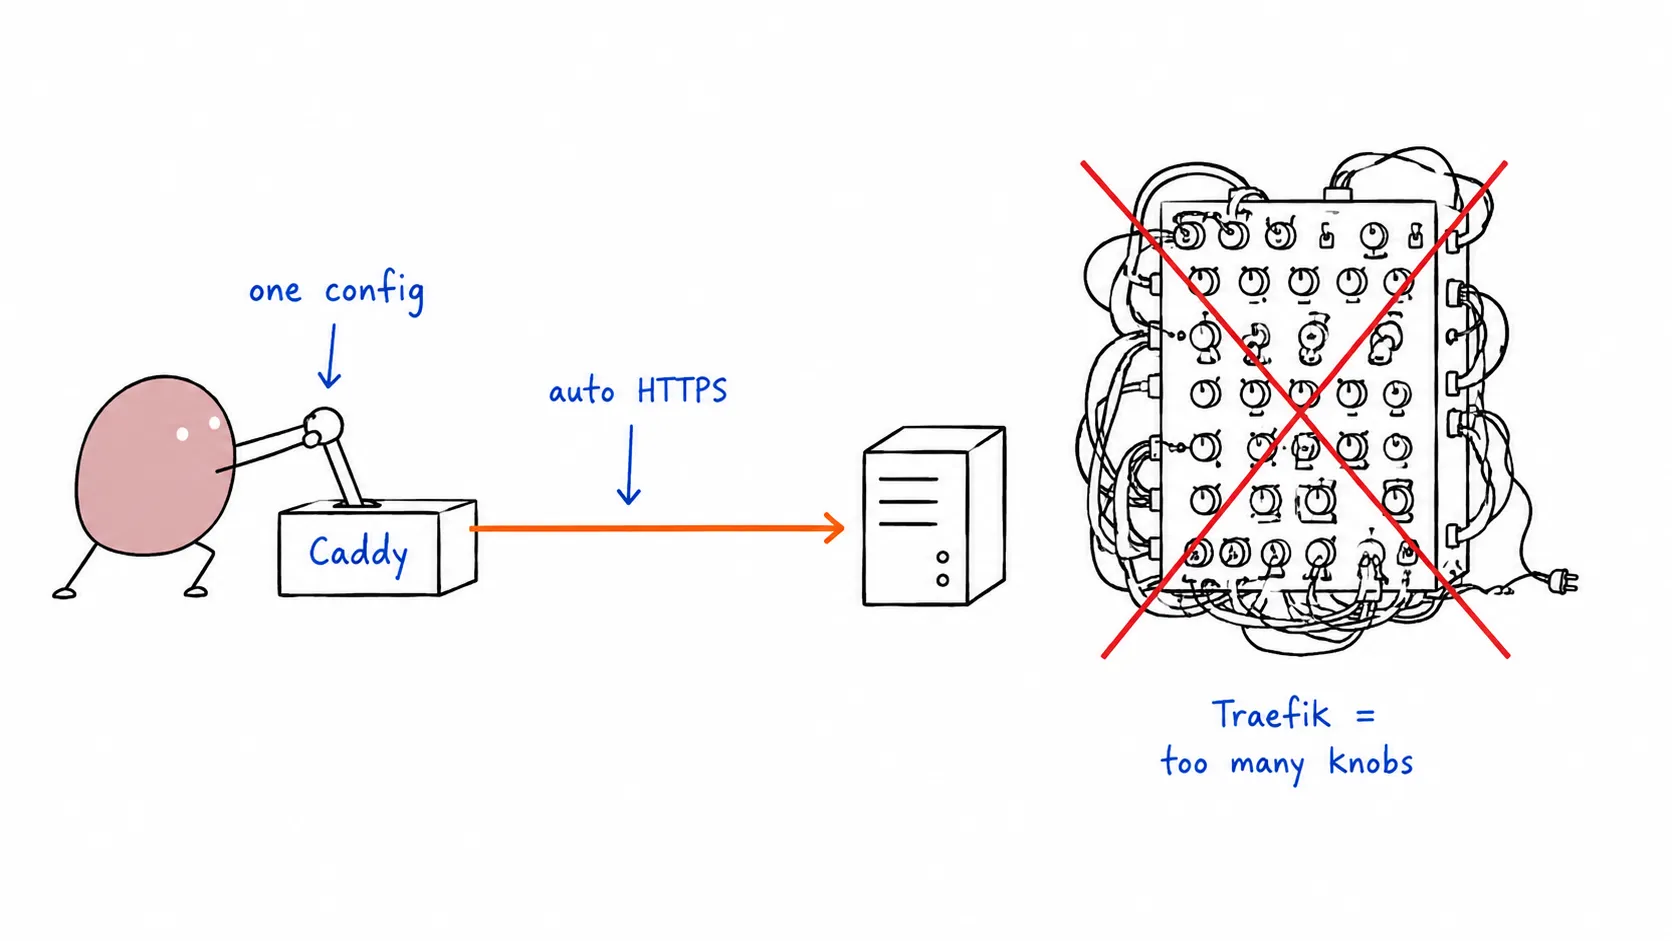
Section titled “Production-Ready VPS: Multi-Node Edition”Part 3 of the series. Part 1: Traefik · Part 2: Caddy
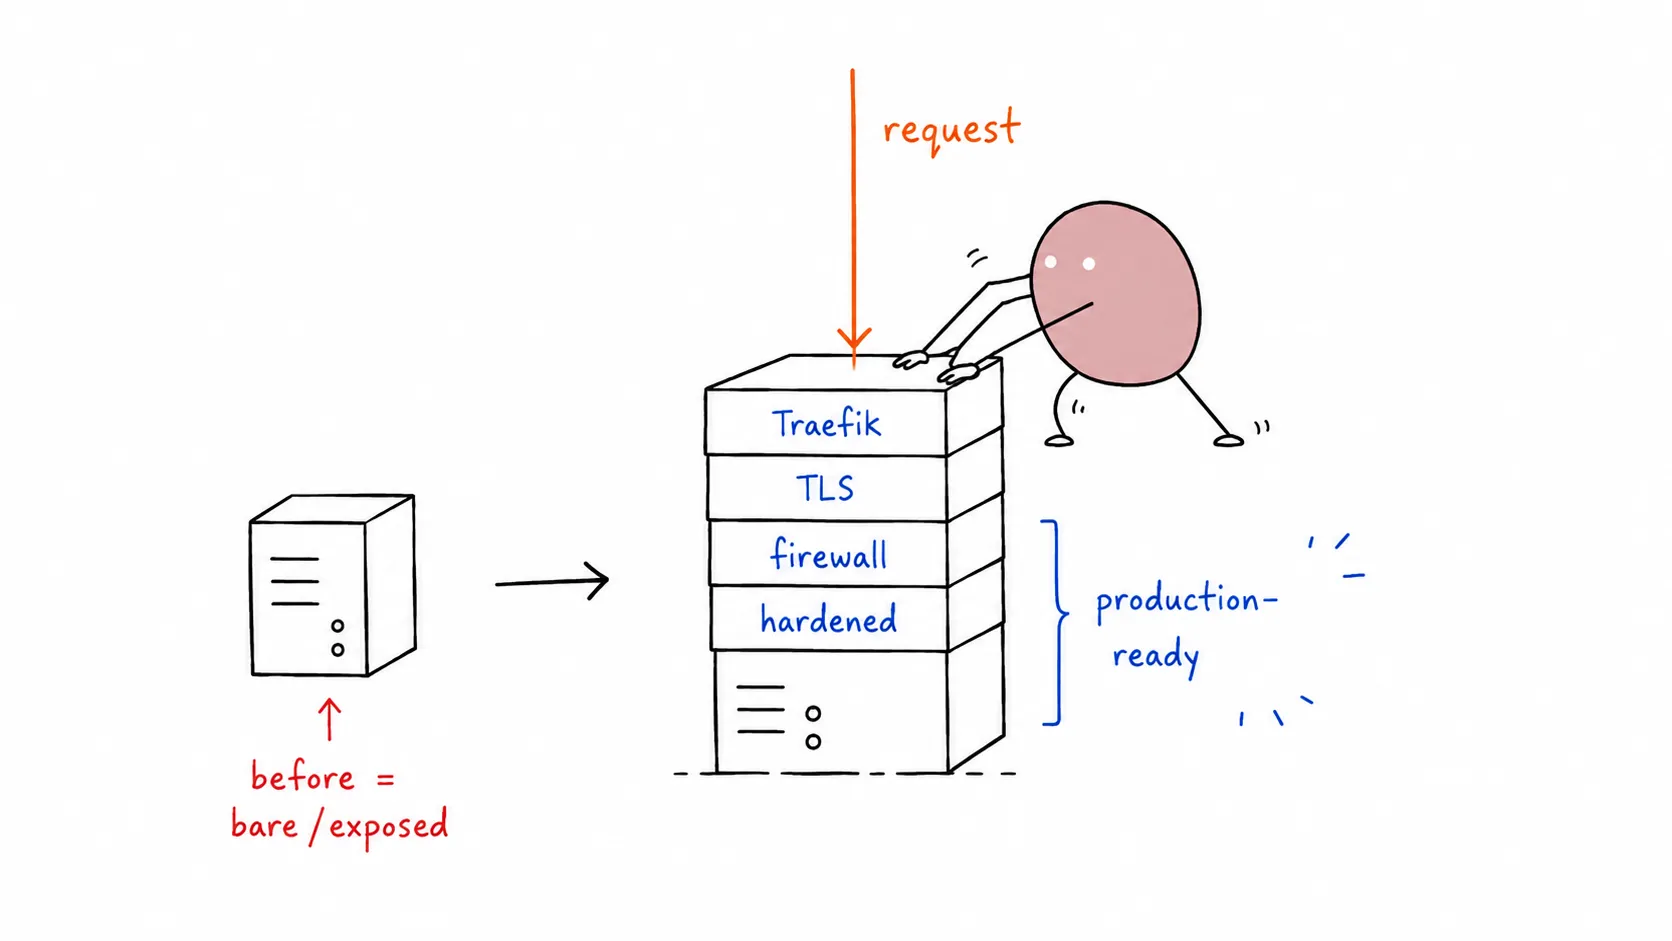
A single VPS is great, until it isn’t. Hardware fails. Datacenter has a bad day. Kernel panic at 3 AM. Suddenly your app is down and you’re SSH’ing from bed.
The fix: two VPS nodes. But two nodes means two copies of everything, and two databases writing independently is how you lose data. This post shows the self-hosted way: Postgres replication between nodes and MinIO for shared file storage. No managed services. No vendor lock-in. All yours.
Architecture
Section titled “Architecture” ┌─────────────┐ │ Cloudflare │ │ Orange Cloud │ │ (2x A record)│ └──────┬──────┘ │ ┌────────────┴────────────┐ │ │ ┌─────▼─────┐ ┌─────▼─────┐ │ VPS-1 │ │ VPS-2 │ │ Caddy │ │ Caddy │ │ App x3 │ │ App x3 │ │ Watchtower│ │ Watchtower│ │ │ │ │ │ Postgres │◇streaming◇│ Postgres │ │ (PRIMARY) │◇replication◇│ (REPLICA) │ │ │ │ │ │ MinIO │◇◀─sync────◇│ MinIO │ └───────────┘ └───────────┘VPS-1 is the primary: Postgres writes, MinIO writes. VPS-2 replicates both. If VPS-1 goes down, promote VPS-2 to primary. Everything lives on your own metal.
Step 1: Provision Two VPS Nodes
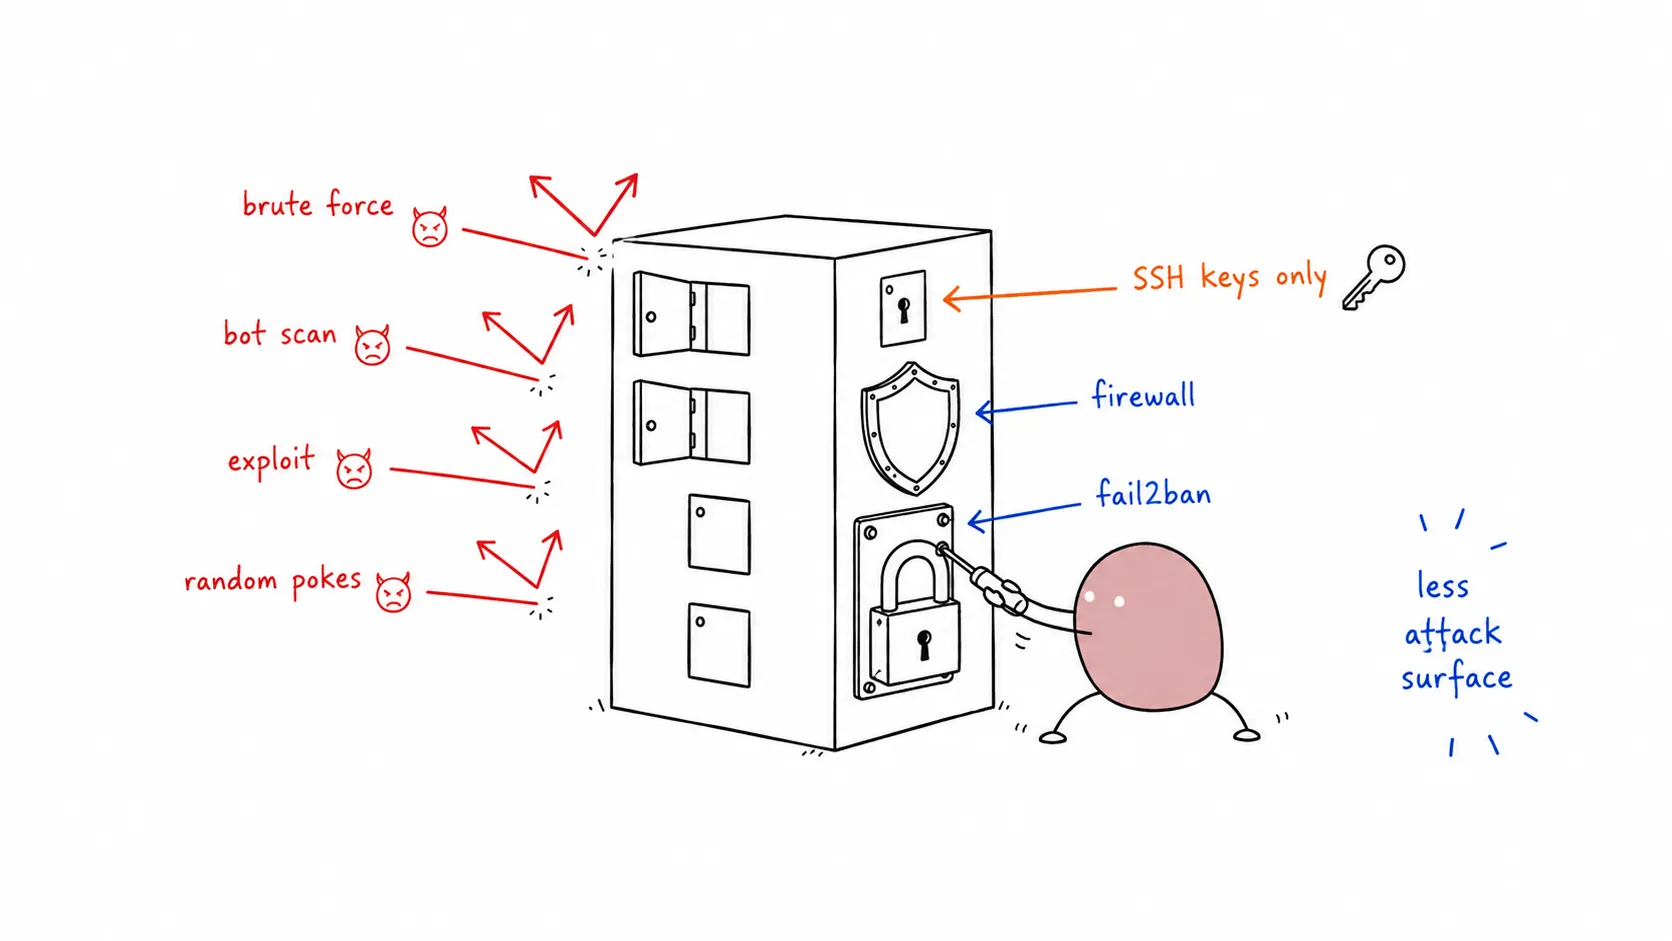
Section titled “Step 1: Provision Two VPS Nodes”Same as always. Two identical nodes. Same specs, same OS.
# On BOTH VPS-1 and VPS-2, follow Steps 1-6 from Part 1:# - Create non-root user, add to wheel# - Harden SSH (no root, no password)# - Install Docker, add user to docker group# - Firewall: ports 22, 80, 443 open# - ALSO open port 5432 between nodes for Postgres replication# - ALSO open port 9000 between nodes for MinIO sync# On BOTH VPS-1 and VPS-2, follow Steps 1-6 from Part 1:# - Create non-root user, add to sudo# - Harden SSH (no root, no password)# - Install Docker, add user to docker group# - Firewall via UFW: ports 22, 80, 443 open# - ALSO open port 5432 between nodes for Postgres replication# - ALSO open port 9000 between nodes for MinIO syncFirewall: allow Postgres + MinIO between nodes only:
# On BOTH nodes. Replace 10.0.0.2 with the OTHER node's private IPsudo firewall-cmd --permanent --add-rich-rule="rule family=ipv4 source address=10.0.0.2 port port=5432 protocol=tcp accept"sudo firewall-cmd --permanent --add-rich-rule="rule family=ipv4 source address=10.0.0.2 port port=9000 protocol=tcp accept"sudo firewall-cmd --reload# On BOTH nodes. Replace 10.0.0.2 with the OTHER node's private IPsudo ufw allow from 10.0.0.2 to any port 5432 proto tcpsudo ufw allow from 10.0.0.2 to any port 9000 proto tcpMost VPS providers give you a private IP for inter-node communication. Use it. Don’t expose Postgres or MinIO to the public internet.
Step 2: Self-Hosted Postgres with Streaming Replication
Section titled “Step 2: Self-Hosted Postgres with Streaming Replication”VPS-1 runs Postgres as primary (reads + writes). VPS-2 runs Postgres as hot standby (reads only, continuously synced). If VPS-1 dies, promote VPS-2.
On VPS-1 (Primary)
Section titled “On VPS-1 (Primary)”Create a compose.yaml for Postgres:
services:  postgres:    image: postgres:17    restart: always    environment:      POSTGRES_PASSWORD: ${PG_PASSWORD}    command: |      -c wal_level=replica      -c max_wal_senders=3      -c wal_keep_size=256    volumes:      - pg-data:/var/lib/postgresql/data      - ./pg-init:/docker-entrypoint-initdb.d    ports:      - "5432:5432"
volumes:  pg-data:
Create pg-init/01-replication-user.sql:
CREATE ROLE replicator WITH LOGIN REPLICATION PASSWORD 'your-replication-password';Deploy:
mkdir -p pg-initecho "CREATE ROLE replicator WITH LOGIN REPLICATION PASSWORD 'your-replication-password';" > pg-init/01-replication-user.sqldocker compose up -dOn VPS-2 (Replica)
Section titled “On VPS-2 (Replica)”Create a compose.yaml:
services:  postgres:    image: postgres:17    restart: always    environment:      POSTGRES_PASSWORD: ${PG_PASSWORD}    volumes:      - pg-data:/var/lib/postgresql/data    ports:      - "5432:5432"
volumes:  pg-data:
Start it once to generate the data directory, then stop it:
docker compose up -ddocker compose stop postgresNow wipe the data directory and pull a base backup from the primary:
sudo rm -rf /var/lib/docker/volumes/guestbook_pg-data/_data/*docker compose run --rm postgres pg_basebackup -h 10.0.0.1 -U replicator -D /var/lib/postgresql/data -P -RThe -R flag creates a standby.signal file and configures the connection string automatically.
Now update compose.yaml for VPS-2 with replication settings:
services:  postgres:    image: postgres:17    restart: always    environment:      POSTGRES_PASSWORD: ${PG_PASSWORD}    command: |      -c primary_conninfo='host=10.0.0.1 port=5432 user=replicator password=your-replication-password'      -c primary_slot_name=replica_slot    volumes:      - pg-data:/var/lib/postgresql/data    ports:      - "5432:5432"
volumes:  pg-data:
Create a replication slot on the primary:
# On VPS-1docker compose exec postgres psql -U postgres -c "SELECT * FROM pg_create_physical_replication_slot('replica_slot');"Start the replica:
# On VPS-2docker compose up -dVerify replication is working:
# On VPS-1 — should show one replica connecteddocker compose exec postgres psql -U postgres -c "SELECT client_addr, state FROM pg_stat_replication;"App connection string
Section titled “App connection string”Your app needs to know: writes go to VPS-1, reads CAN go to VPS-2:
DATABASE_URL=postgresql://postgres:***@10.0.0.1:5432/mydb # writes (VPS-1)DATABASE_REPLICA_URL=postgresql://postgres:***@10.0.0.2:5432/mydb # reads (VPS-2)For most apps, just point everything at the primary. The replica is there for failover, not load distribution.
Step 3: Self-Hosted Object Storage with MinIO
Section titled “Step 3: Self-Hosted Object Storage with MinIO”MinIO is an S3-compatible object store. Run it on both nodes with bucket replication.
On BOTH VPS-1 and VPS-2
Section titled “On BOTH VPS-1 and VPS-2”Add to your compose.yaml:
services:  minio:    image: minio/minio:latest    restart: always    command: server /data --console-address ":9001"    environment:      MINIO_ROOT_USER: minioadmin      MINIO_ROOT_PASSWORD: ${MINIO_PASSWORD}    volumes:      - minio-data:/data    ports:      - "9000:9000"      - "9001:9001"
volumes:  minio-data:
Configure bucket replication
Section titled “Configure bucket replication”Access MinIO Console at http://vps1-ip:9001. Create a bucket (e.g., uploads).
Then on BOTH nodes, configure replication via mc (MinIO Client):
# Install mccurl https://dl.min.io/client/mc/release/linux-amd64/mc -o /usr/local/bin/mcchmod +x /usr/local/bin/mc
# Add both MinIO instancesmc alias set vps1 http://10.0.0.1:9000 minioadmin ${MINIO_PASSWORD}mc alias set vps2 http://10.0.0.2:9000 minioadmin ${MINIO_PASSWORD}
# Create replication rule — VPS-1 → VPS-2mc replicate add vps1/uploads --remote-bucket vps2/uploads --priority 1
# Create replication rule — VPS-2 → VPS-1 (bidirectional)mc replicate add vps2/uploads --remote-bucket vps1/uploads --priority 1
Now any file uploaded to VPS-1’s MinIO is automatically replicated to VPS-2, and vice versa. Your app writes to its local MinIO, reads from the same. Both nodes always have the full file set.
App config
Section titled “App config”Your app uses the local MinIO endpoint. On each node it’s always localhost:9000:
S3_ENDPOINT=http://localhost:9000S3_BUCKET=uploadsS3_ACCESS_KEY=minioadminS3_SECRET_KEY=${MINI...No code changes needed between single-node and multi-node. MinIO replication handles sync transparently.
> **Don't need file uploads?** Skip MinIO entirely. Your app is already multi-node-ready.
---
## Step 4: Deploy the App on Both Nodes
We use **Caddy** as the reverse proxy, following the simpler setup from [Part 2](/blog/vps-production-ready-caddy/). Build the `caddy-docker-proxy` image on both nodes (or push to ghcr.io and pull):
```dockerfileFROM caddy:2.9-builder AS builderRUN xcaddy build --with github.com/lucaslorentz/caddy-docker-proxy/v2FROM caddy:2.9COPY --from=builder /usr/bin/caddy /usr/bin/caddydocker build -t caddy-docker-proxy .Now the full compose.yaml for VPS-1 (primary):
services:  caddy:    image: caddy-docker-proxy    restart: always    ports:      - "80:80"      - "443:443"    volumes:      - /var/run/docker.sock:/var/run/docker.sock:ro      - caddy-data:/data
  postgres:    image: postgres:17    restart: always    environment:      POSTGRES_PASSWORD: ${PG_PASSWORD}    command: |      -c wal_level=replica      -c max_wal_senders=3      -c wal_keep_size=256    volumes:      - pg-data:/var/lib/postgresql/data    ports:      - "5432:5432"
  minio:    image: minio/minio:latest    restart: always    command: server /data --console-address ":9001"    environment:      MINIO_ROOT_USER: minioadmin      MINIO_ROOT_PASSWORD: ${MINIO_PASSWORD}    volumes:      - minio-data:/data    ports:      - "9000:9000"      - "9001:9001"
  guestbook:    image: ghcr.io/yourusername/guestbook:prod    restart: always    environment:      DATABASE_URL: postgresql://postgres:***@postgres:5432/mydb      S3_ENDPOINT: http://minio:9000      S3_BUCKET: uploads      S3_ACCESS_KEY: minioadmin      S3_SECRET_KEY: ${MINIO_PASSWORD}      S3_USE_SSL: "false"    labels:      caddy: yourdomain.com      caddy.reverse_proxy: "{{upstreams 8080}}"      com.centurylinklabs.watchtower.enable: "true"    deploy:      replicas: 3    depends_on:      - postgres
  watchtower:    image: containrrr/watchtower    command:      - "--label-enable"      - "--interval"      - "30"      - "--rolling-restart"    volumes:      - /var/run/docker.sock:/var/run/docker.sock:ro
volumes:  caddy-data:  pg-data:  minio-data:
VPS-2 uses the same compose.yaml but with the replica Postgres config from Step 2 (different command on the postgres service). Everything else is identical.
Deploy on both:
# On VPS-1cd ~/guestbook && docker compose up -d
# On VPS-2cd ~/guestbook && docker compose up -d
Step 5: Cloudflare Orange Cloud (Free Load Balancing)
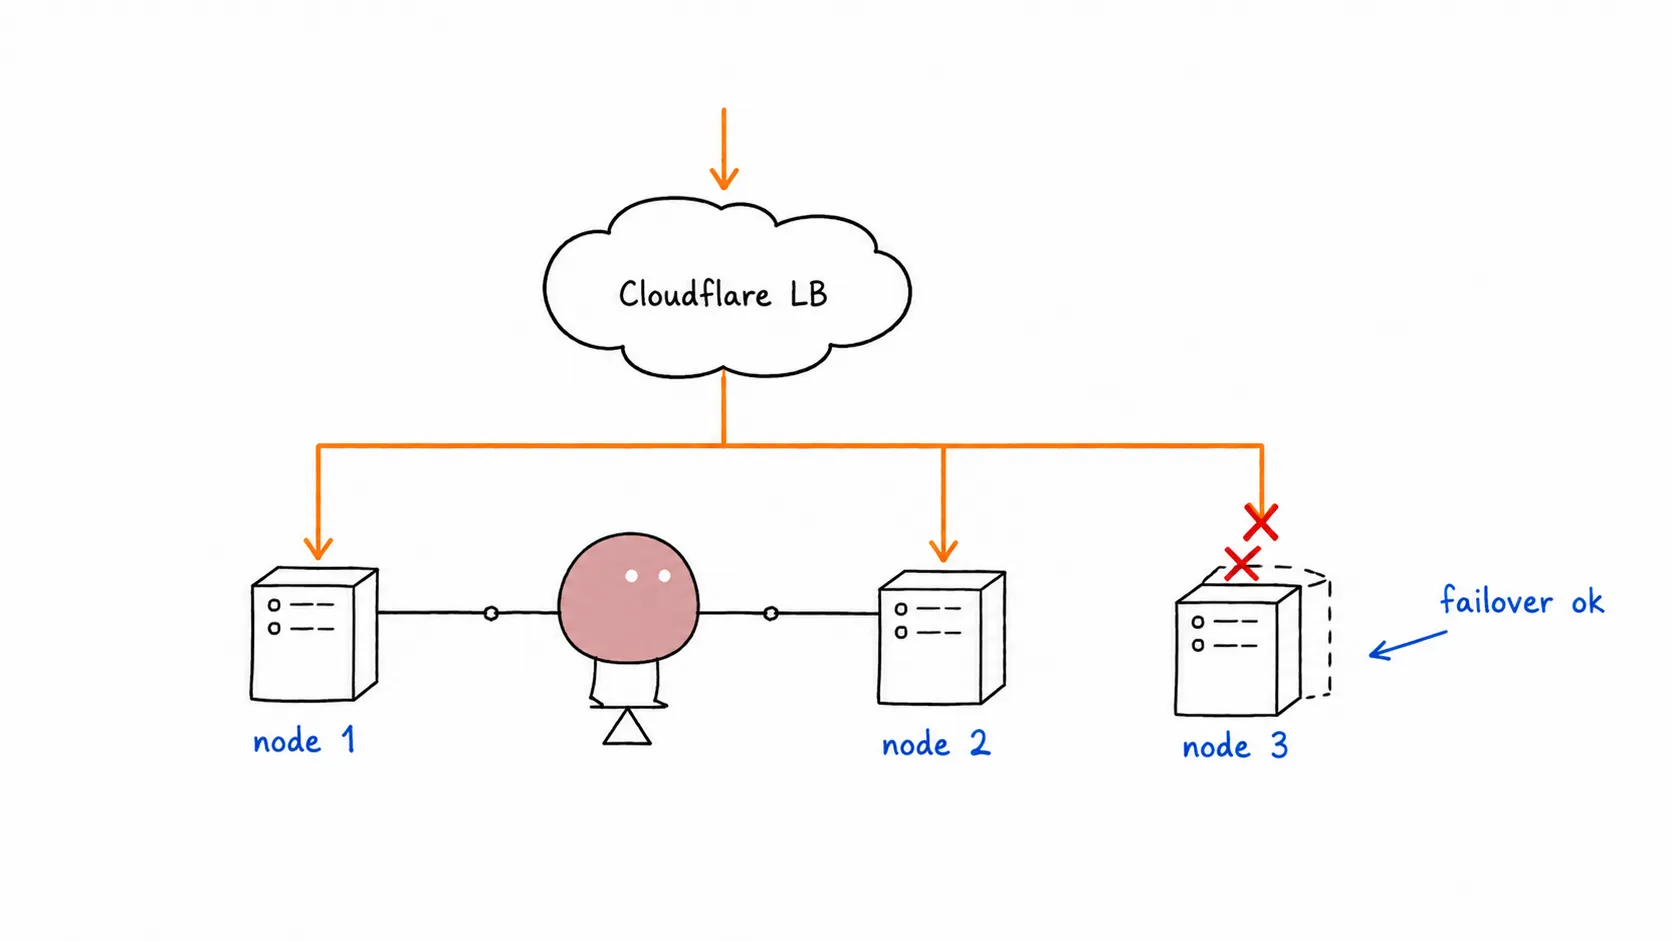
Section titled “Step 5: Cloudflare Orange Cloud (Free Load Balancing)”Cloudflare Load Balancer costs $10/month. For two nodes, the free alternative works well enough.
- In Cloudflare DNS dashboard, add two A records for your domain
- Both point to
@(root), one to each VPS public IP - Enable the orange cloud (proxy) on both records
- Cloudflare distributes traffic across both origins automatically
Type Name Content ProxyA @ <VPS-1 IP> 🟧 ProxiedA @ <VPS-2 IP> 🟧 ProxiedLimitations compared to paid LB:
- No active health checks. If VPS-1 goes hard down (timeout), Cloudflare eventually stops sending traffic there. But if the app returns 500s, Cloudflare won’t know.
- No weighted routing. Traffic split is roughly 50/50, not configurable.
- Failover is reactive, not proactive.
For most projects, this is enough. Your uptime monitor (Step 8) will catch the 500s and you can manually pull the dead node’s A record. If you need 99.9% uptime with automatic failover, the $10/month Cloudflare LB is the upgrade path.
Step 6: Failover — When VPS-1 Goes Down
Section titled “Step 6: Failover — When VPS-1 Goes Down”Cloudflare detects VPS-1 is unreachable, routes all traffic to VPS-2. Your app on VPS-2 is still running, still serving. But Postgres on VPS-2 is a read-only replica.
To promote it:
# On VPS-2 — promote the replica to primarydocker compose exec postgres psql -U postgres -c "SELECT pg_promote();"Now VPS-2’s Postgres accepts writes. Update your app’s DATABASE_URL (if it pointed to VPS-1’s IP) or restart the container if using the local postgres hostname.
Also remove VPS-1’s A record from Cloudflare DNS so traffic stops going to the dead node.
When VPS-1 comes back:
- Rebuild it as a new replica (pg_basebackup from VPS-2)
- Add its A record back to Cloudflare
This is a manual failover. For automatic failover you’d need Patroni + etcd, which triples the complexity. For a two-node self-hosted setup, manual promotion is pragmatic. You’ll be awake anyway because your monitoring alerted you.
Step 7: Automated Deploys
Section titled “Step 7: Automated Deploys”Watchtower on both nodes. Push a new image, both nodes update within 30 seconds.
docker build -t ghcr.io/yourusername/guestbook:prod .docker push ghcr.io/yourusername/guestbook:prod# Wait 30s. Both VPS-1 and VPS-2 roll restart.# Zero downtime — Cloudflare routes away from restarting node.Step 8: Monitoring
Section titled “Step 8: Monitoring”- Uptime Robot (free): add
http://vps1-ip/healthandhttp://vps2-ip/health - Postgres replication lag:
Terminal window docker compose exec postgres psql -U postgres -c "SELECT pg_wal_lsn_diff(pg_current_wal_lsn(), replay_lsn) FROM pg_stat_replication;" - Disk usage on both nodes:
Terminal window df -h /var/lib/docker/volumes
Resources Needed
Section titled “Resources Needed”What each component actually uses on your nodes:
| Component | vCPU | RAM | Disk | Notes |
|---|---|---|---|---|
| Caddy | 0.2 | 128 MB | — | Negligible. Single binary, ~20 MB at runtime |
| App (x3 replicas) | 1.5 | 512 MB | — | Depends on your app. Go/Rust: 50 MB, Node/Python: 200+ MB per instance |
| Postgres | 1 | 1 GB | scales with data | Shared buffers + WAL. 1 GB is minimum for replication |
| MinIO | 0.5 | 512 MB | scales with files | Each node stores full file set. Plan accordingly |
| Watchtower | 0.1 | 64 MB | — | Barely a blip |
| OS overhead | 0.5 | 1 GB | 20 GB | systemd, Docker daemon, SSH |
| Buffer | 1 | 1.5 GB | — | Headroom for spikes, logs, builds |
Recommendation per node: 4 vCPU / 8 GB RAM / 80 GB SSD.
For low-traffic apps, 2 vCPU / 4 GB works. For Postgres-heavy workloads, bump to 8 GB RAM and give Postgres 2-4 GB of shared_buffers.
Traefik vs Caddy for Multi-Node
Section titled “Traefik vs Caddy for Multi-Node”If you followed Part 1 with Traefik and want to keep it, just swap the Caddy service for your Traefik config. The rest — Postgres replication, MinIO sync, Cloudflare DNS — stays exactly the same. The reverse proxy layer is independent of everything else.
That said, Caddy’s 3-line config is especially nice when you’re managing two identical nodes. Less YAML to keep in sync.
Checklist
Section titled “Checklist”- Two VPS nodes hardened, Docker installed
- Postgres primary on VPS-1, replica on VPS-2
- Streaming replication verified
- MinIO running on both nodes, bucket replication active
- Caddy built and running on both nodes
- App deployed on both nodes with identical compose.yaml
- Cloudflare DNS: two A records, orange cloud enabled
- Watchtower on both nodes
- Failover tested (promote replica, verify traffic flows)
- Uptime monitoring on both nodes
No managed databases. No S3 bills. No load balancer subscription. Just two Linux boxes, Postgres replication, MinIO sync, and Cloudflare’s free proxy tier. Everything you need for a production multi-node setup, running on your own hardware.