Skip to content
Client Panel

proxmox

2 posts with the tag “proxmox”

Installing Omakub on a Proxmox Virtual Machine

Tomochi dropping a pre-furnished desktop into an empty VM box

I recently found myself in a common homelab dilemma: I needed a dedicated machine for a jumphost and remote development environment, but all my spare hardware was already tied up with my Proxmox server running other services. So, I decided to leverage my existing Proxmox setup and install Omakub inside a virtual machine.

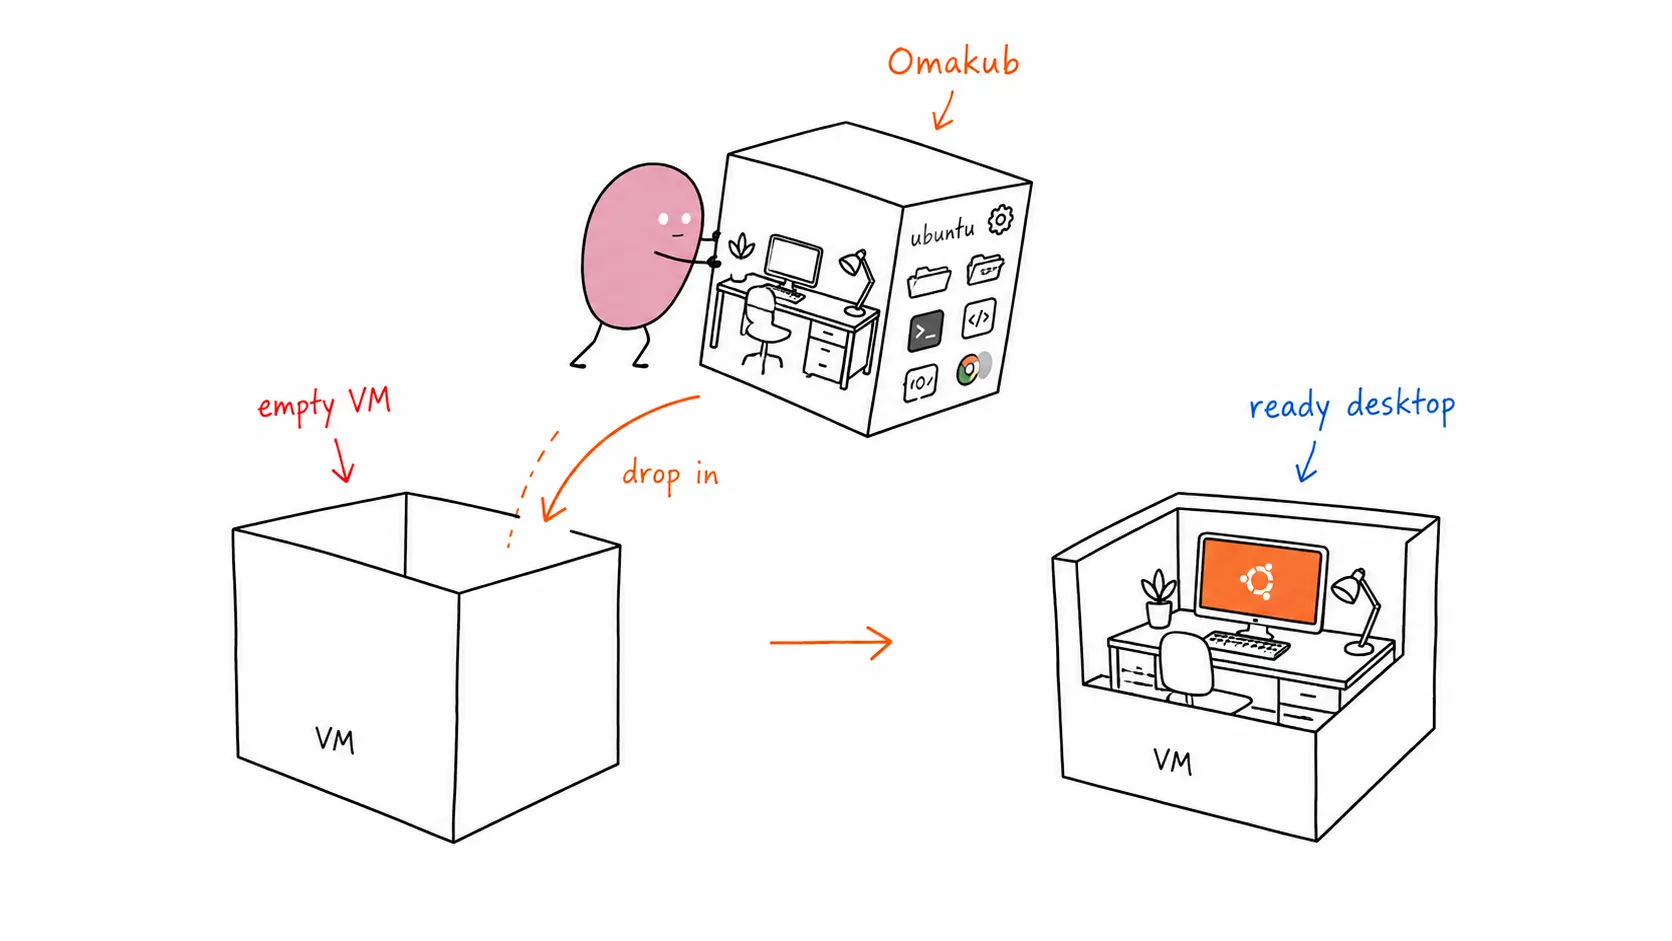
Omakub, based on Ubuntu, provides a clean and efficient workspace, perfect for keeping my main PC clutter-free while still having a powerful Linux environment at my fingertips. This guide will walk you through setting up a fresh Ubuntu 24.04 VM in Proxmox and then installing Omakub.

For this setup, I allocated the following resources to my Proxmox VM:

  • VCPU: 8
  • RAM: 16 GB
  • Storage: 512 GB SSD

Step by Step: Ubuntu 24.04 Installation (Proxmox VM)

Section titled “Step by Step: Ubuntu 24.04 Installation (Proxmox VM)”
  1. Download Ubuntu 24.04 ISO: First, grab the official Ubuntu 24.04 Desktop ISO from the Ubuntu website. https://releases.ubuntu.com/24.04/

  2. Create a New VM in Proxmox: Follow the standard Proxmox procedure to create a new virtual machine.

    • Mount the downloaded Ubuntu ISO as a CD/DVD drive.
    • Configure the VM with the specifications mentioned above (8 VCPU, 16 GB RAM, 512 GB SSD).
    • Ensure you select “Qemu Agent” in the VM options for better integration.
  3. Install Ubuntu 24.04: Boot the VM and proceed with a fresh installation of Ubuntu 24.04 Desktop. Follow the on-screen prompts to set up your user, timezone, etc.

Once Ubuntu is installed and you’ve rebooted into your fresh desktop, perform these crucial steps before installing Omakub:

  1. Update all repositories:

    Terminal window
    sudo apt update && sudo apt upgrade -y

    If a reboot is requested after the update, go ahead and reboot your VM.

  2. Install essential tools:

    Terminal window
    sudo apt install -y vim qemu-guest-agent openssh-server
  3. Enable and start services:

    Terminal window
    sudo systemctl enable --now qemu-guest-agent
    sudo systemctl enable --now ssh

After ensuring your system is updated and services are running, you can enable Remote Desktop for easier access.

  1. Open Settings > System > Remote Desktop.
  2. Toggle Remote Desktop to ON.
  3. For Remote Login, you can choose to set a specific port (the default RDP port is 3389).
  4. Set your desired username and password for remote access.

Now, you can test connecting to your Ubuntu VM using an RDP client. I use Microsoft Remote Desktop on my Mac.

Once you have successfully connected to your Ubuntu VM via RDP, you can proceed with the Omakub installation using their convenient one-line script.

Open a terminal in your Ubuntu VM and run:

Terminal window
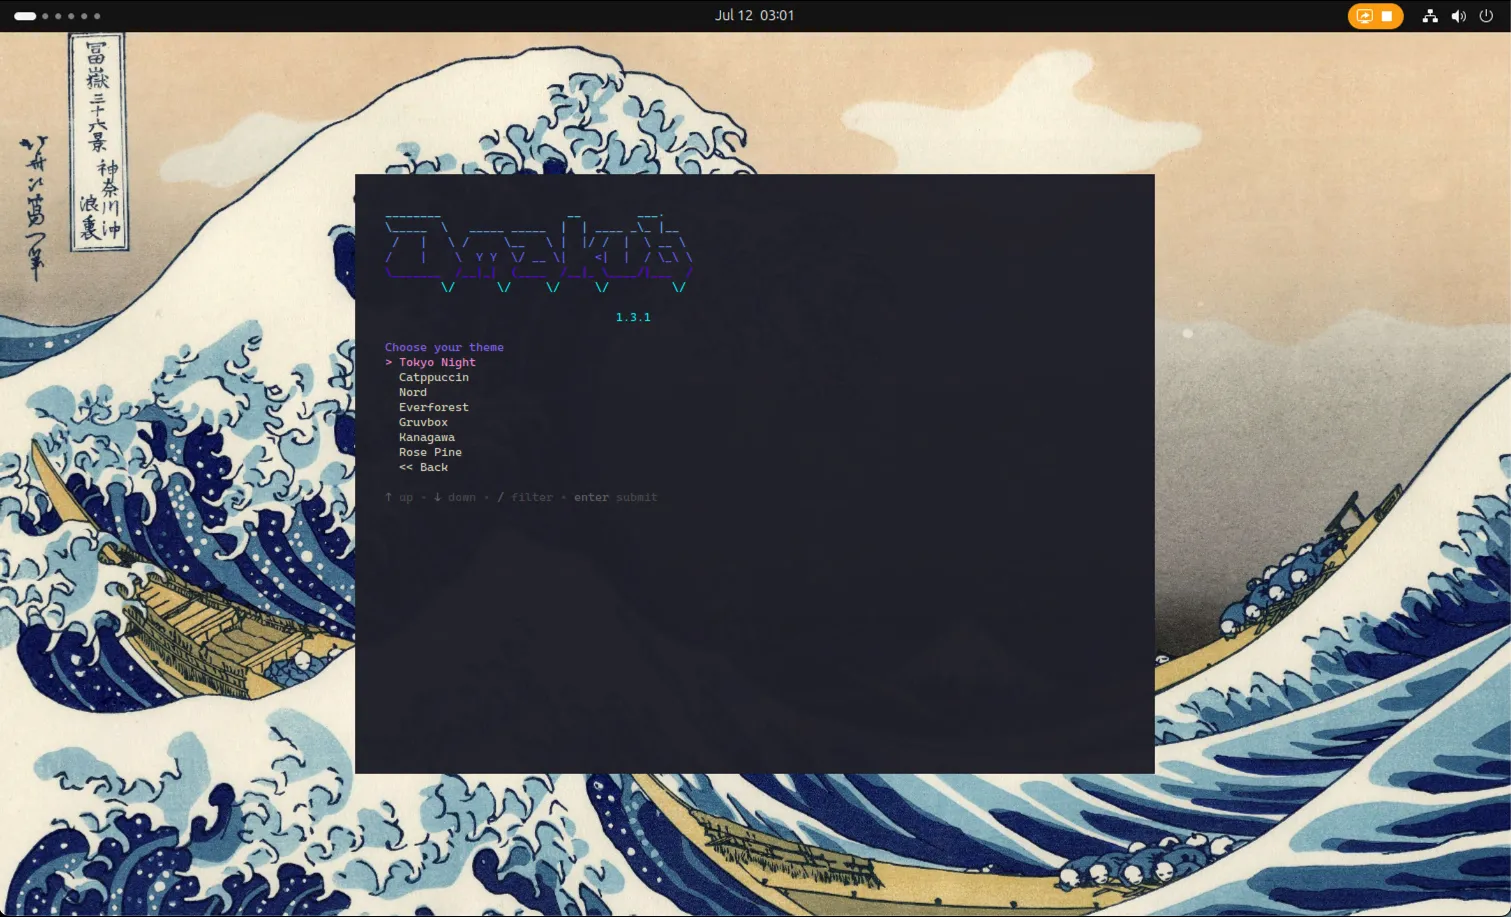
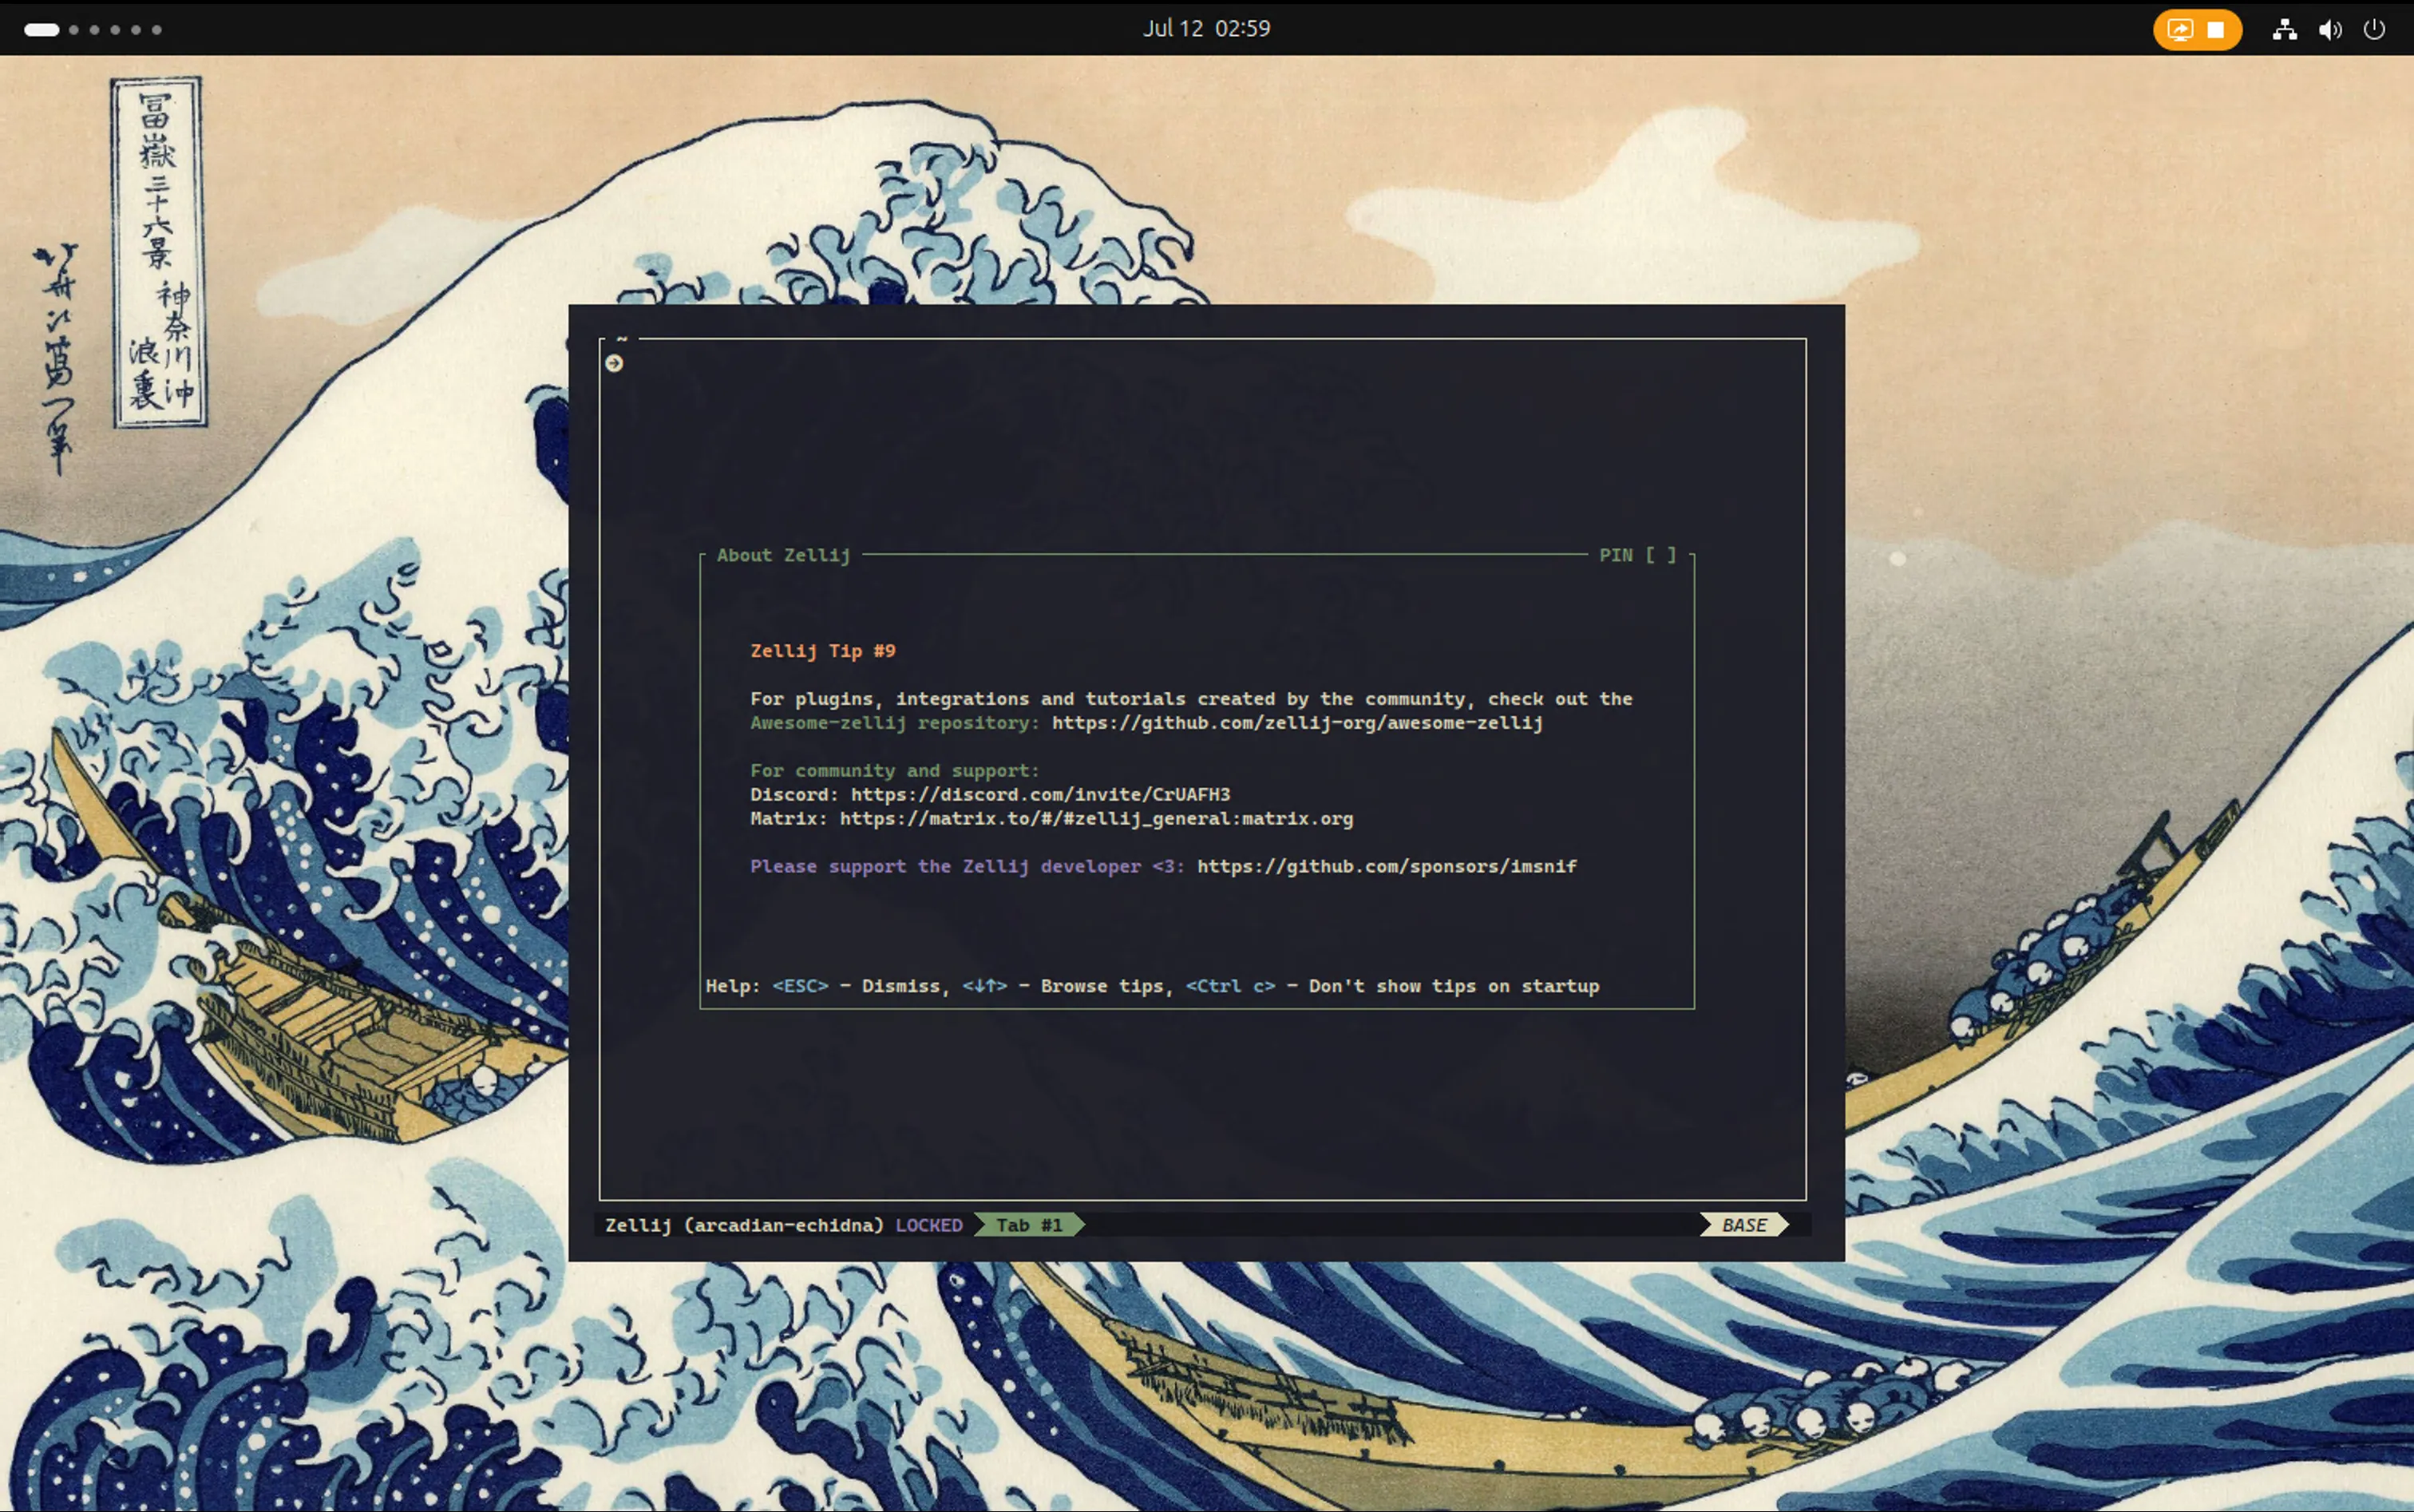
wget -qO- https://omakub.org/install | bash

Follow the on-screen prompts to select your preferred options. The installation will take some time and will eventually request a reboot.

Terminal Landing Page

Post-Omakub Installation & Troubleshooting

Section titled “Post-Omakub Installation & Troubleshooting”

After Omakub is installed and your VM has rebooted, try to connect again via RDP.

  • Xorg Session: Omakub uses Xorg. If you experience lagging or a black screen upon login, ensure you select “Ubuntu on Xorg” after entering your username and before typing your password. Look for a small gear icon (or similar) in the bottom right corner of the login screen to choose the session type.

  • RDP Black Screen Troubleshooting (macOS Microsoft Remote Desktop): If you encounter a black screen specifically when using Microsoft Remote Desktop on macOS, you might need to adjust the RDP connection file:

    1. Right-click on your existing connection in Microsoft Remote Desktop.
    2. Select “Export” to save the connection settings as an .rdp file.
    3. Open the saved .rdp file with a text editor.
    4. Locate the line:
      use redirection server name:i:0
    5. Change it to:
      use redirection server name:i:1
    6. Save the modified file.
    7. Import the edited file as a new connection in Microsoft Remote Desktop.

    For more details, you can refer to this Reddit thread: https://www.reddit.com/r/Ubuntu/comments/1csoi05/2404_cannot_connect_via_rdp/?utm_source=share&utm_medium=web3x&utm_name=web3xcss&utm_term=1&utm_content=share_button

Troubleshooting Keyboard Shortcuts (Super Key Conflicts)

Section titled “Troubleshooting Keyboard Shortcuts (Super Key Conflicts)”

A common issue when using Remote Desktop from macOS to a Linux VM (especially with Omakub) is that macOS’s system-level shortcuts can conflict with the VM’s shortcuts, particularly those involving the Super key (Cmd key on Mac). For example, Super+Space often triggers Spotlight on macOS instead of Omakub’s application launcher.

Shortcut Settings

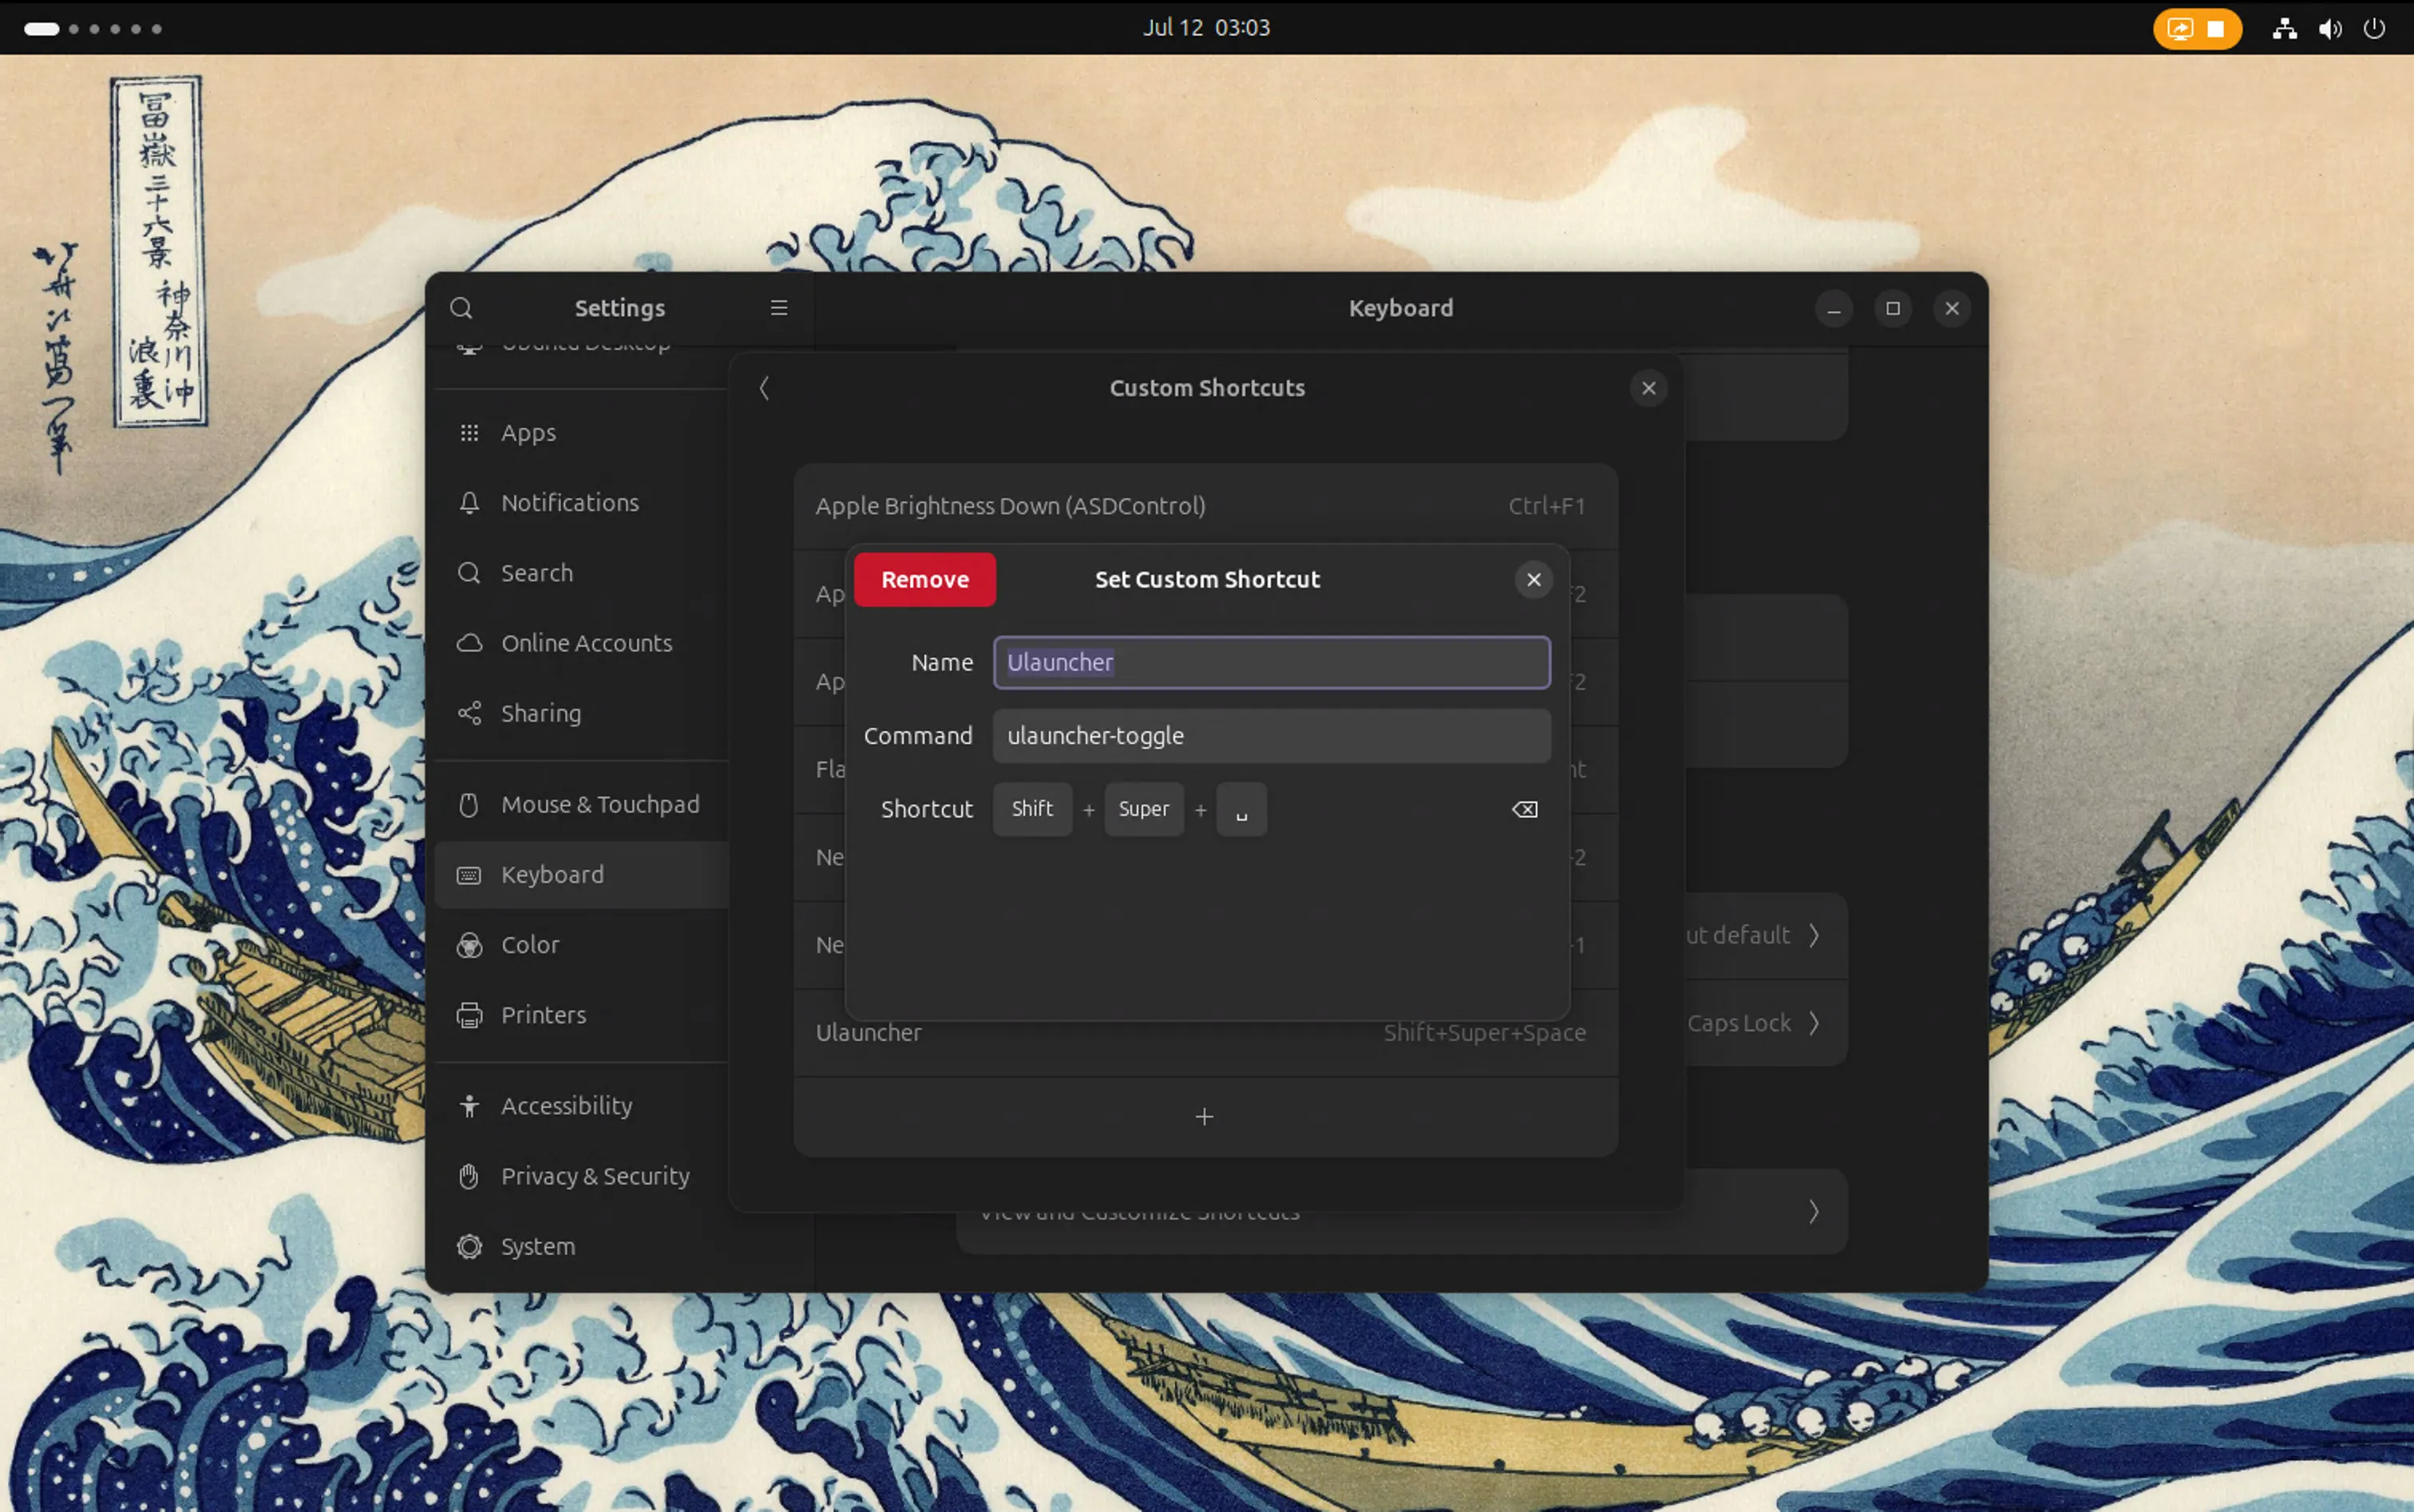
To resolve this, you can adjust the hotkeys within Omakub to avoid conflicts:

  • Ulauncher (“Type app to launch”):

    • Original: Super + Space
    • New: Shift + Super + Space
    • You can find and modify this shortcut within Omakub’s settings, often under “Keyboard” or “Custom Shortcuts,” specifically looking for Ulauncher.
  • “See all apps” (System):

    • Original: Super + A
    • New: Shift + Super + A
  • “Close app” (Windows):

    • Original: Super + W
    • New: Shift + Super + W

By changing these keybindings in Omakub, you allow macOS to retain its system-level shortcuts while still having access to Omakub’s features with non-conflicting combinations.

You’ve now successfully installed Omakub on an Ubuntu 24.04 virtual machine within Proxmox! This setup provides a powerful and isolated environment for your jumphost and remote development needs, all while leveraging your existing homelab infrastructure. Enjoy your clean main PC and your new Omakub workspace!

Omakub Theme

Setup Non HA Kubernetes using K3S

Tomochi balancing a tray of worker nodes on a single control-plane leg

Last Update: 25 February 2025

Non-HA Control Plan Setup and Configuration

Section titled “Non-HA Control Plan Setup and Configuration”

Non HA Control Plane Kubernetes

The implementation Scenario will be configured:

  • 1 Master Node
  • 2 Worker Node

These three nodes will be deployed in Proxmox VE, with each specification of node:

  • 4 vCPU
  • 16 GB of memory
  • 50 GB of storage
  • Ubuntu 20.04
  1. Update and upgrade the package repository to the newest version.

    Terminal window
    sudo apt update -y
    sudo apt upgrade -y
  2. (optional) rename and set /etc/host for each node became:

    1. Master node → kube-master-1
    2. Worker node → kube-worker-1, kube-worker-2
    Terminal window
    #edit /etc/hosts and add this at the end of file (adjust ip address)
    10.0.2.200 kube-master-1
    10.0.2.199 kube-worker-1
    10.0.2.198 kube-worker-2
  3. Reboot to finalize the upgrade and apply the hostname.

  4. Install docker with this script (Docker: Install using the conveniencescript)

    Terminal window
    curl -fsSL https://get.docker.com -o get-docker.sh
    sudo sh get-docker.sh
  5. Check docker command and version

    Terminal window
    docker ps
    docker version

    Check Docker Version

  1. Defined the K3s token. Save this token and make sure this token is the same for all nodes

    Terminal window
    export K3S_TOKEN=kubernetesdemo123
  2. The installation of master node, using this script:

    1. install the server as master node
    2. disable Traefik for ingress → will use Nginx ingress
    3. disable Servicelb → will use MetalLB
    4. disable local-storage → will use Ceph CSI
    5. declare to use docker
    Terminal window
    curl -sfL https://get.k3s.io | sh -s - server --disable traefik --disable servicelb --disable local-storage --docker

    K3S Installation

  3. Check the service status, make sure it is active

    Terminal window
    systemctl status k3s.service

    K3S Master Node Status

  4. Check kubectl command. It will display 1 node only (which is the master node).

    Terminal window
    kubectl get node

    Get Node Information using kubectl

    ⚠️ if the get error unable to read /etc/rancher/k3s/k3s.yml , you can fix with this step.

    Terminal window
    mkdir .kube
    sudo cp /etc/rancher/k3s/k3s.yaml .kube/config.yaml
    sudo chown $USER:$GROUP .kube/config.yaml
    export KUBECONFIG=~/.kube/config.yaml

    or if you have not start the installation, you can add --write-config 644 in the end of the script, like this:

    Terminal window
    curl -sfL https://get.k3s.io | sh -s - server --disable traefik --disable servicelb --disable local-storage --docker --write-config 644

Do this step for all the worker node, in this scenario will be kube-worker-1 and kube-worker-2.

  1. Defined the K3s token. Use the same token as defined in master node.

    Terminal window
    export K3S_TOKEN=kubernetesdemo123

    ⚠️ If you forget the token on the master node, you can check and on the master node on this file. Copy all the string.

    Terminal window
    cat /var/lib/rancher/k3s/server/node-token
  2. The installation of worker nodes, using this script:

    1. install the server as worker node (agent)
    2. declare to use docker
    3. define the server endpoint to master node ip or domain
    Terminal window
    curl -sfL https://get.k3s.io | sh -s - agent --docker --server https://kube-master-1:6443
  3. Check the service in the worker nodes

    Terminal window
    systemctl status k3s-agent.service

    K3S Worker Node Status

  4. Check kubectl command in master node. Now, it will display more than 1 node (which is the includes all the installed worker nodes).

    Terminal window
    kubectl get node

    Get Nodes Information using kubectl

⚠️ If you stuck in when starting k3s-agent. Make sure worker node and master node can be connecting. it could be firewall, proxy server, or incorrect/mismatched MTU. Script below can be use for check the connectivity.

Terminal window
curl -ks https://ipaddress:6443/ping

Install and Configure services in the Master Node

Section titled “Install and Configure services in the Master Node”

Because we disable some service in the master node. Now we are going to install it the replacement services.

  1. Install Helm using script below (the latest script can be seen on the Helm docs):

    Terminal window
    curl https://baltocdn.com/helm/signing.asc | gpg --dearmor | sudo tee /usr/share/keyrings/helm.gpg > /dev/null
    sudo apt-get install apt-transport-https --yes
    echo "deb [arch=$(dpkg --print-architecture) signed-by=/usr/share/keyrings/helm.gpg] https://baltocdn.com/helm/stable/debian/ all main" | sudo tee /etc/apt/sources.list.d/helm-stable-debian.list
    sudo apt-get update
    sudo apt-get install helm
  2. Check the version

    Terminal window
    helm version

    Check Helm Version

MetalLB - Load Balancer Installation and Configuration

Section titled “MetalLB - Load Balancer Installation and Configuration”

Load Balancer Diagram

  • As default, all resources in Kubernetes are isolated, specifically pods.
  • Pods are isolated by default. To enable communication between pods or with the external network, you need to configure Services.
  • There are several type of service:
    • ClusterIP → Default services, ClusterIP services provide an internal IP address within the cluster that other pods can use to communicate. They are not directly accessible from outside the cluster.
    • NodePort (Port 30000-32767) → NodePort services expose a port on each node in the cluster, allowing external access. The port range 30000-32767 is the default range.
    • LoadBalancer → LoadBalancer services provision an external load balancer that distributes traffic to multiple pods.
  1. Add metallb repository to helm

    Terminal window
    helm repo add metallb https://metallb.github.io/metallb
  2. Check the repo list

    Terminal window
    helm repo ls
  3. Search the metallb

    Terminal window
    helm search repo metallb

    Search MetalLB in Helm

  4. Pull the metallb from the repository, it will download tgz file.

    Terminal window
    # run this in the home dir or other directory
    helm pull metallb/metallb
    # extract the tgz
    tar xvf metallb-*
  5. Change directory to metallb and if there any configuration changes, you can edit values.yaml

    Terminal window
    cd metallb
    #optional
    vim values.yaml
  6. Install metallb using helm

    • Set the chart name to metallb
    • Define the file to values.yaml
    • Put the namespace to metallb-system
    • Enable debug mode
    • Create metallb-system namespace
    Terminal window
    helm install metallb -f values.yaml . -n metallb-system --debug --create-namespace
  7. Check the status, if the status still init, wait until running.

    Terminal window
    kubectl -n metallb-system get all
    kubectl -n metallb-system get pod -w

    Get All using kubectl

  1. First, define the address pool on ipaddresspool.yaml

    apiVersion: metallb.io/v1beta1
    kind: IPAddressPool
    metadata:
    name: default-pool
    namespace: metallb-system
    spec:
    addresses:
    - 10.0.2.11-10.0.2.100 #adjust this range
  2. Apply the configuration

    Terminal window
    kubectl apply -f ipaddresspool.yaml

    Apply IP Address Pool using kubectl

  3. Then, we define the L2 Advertisement config on l2advertisement.yaml

    apiVersion: metallb.io/v1beta1
    kind: L2Advertisement
    metadata:
    name: default
    namespace: metallb-system
    spec:
    ipAddressPools:
    - default-pool
  4. Apply the configuration

    Terminal window
    kubectl apply -f l2advertisement.yaml

    Apply L2 Advertisement using kubectl

  1. Run demo app for the testing, the demo app using nginx image.

    Terminal window
    kubectl run app-demo-1 --image=nginx --port=80
    #check the pod status, wait until running
    kubectl get pod
  2. Since by default pod cannot communicate to outside, we need to create the service to expose the pods.

    Terminal window
    kubectl expose pod app-demo-1 --type=LoadBalancer --target-port=80 --port=80 --name app-demo-1
    #check the pods and services
    kubectl get all

    Get All using kubectl

  3. You can access the app using EXTERNAL-IP of service/app-demo-1 and Nginx landing page will show up.

    Access External IP

Nginx - Ingress Controller Installation and Configuration

Section titled “Nginx - Ingress Controller Installation and Configuration”

Ingress Diagram

  1. Add nginx repository to helm

    Terminal window
    helm repo add nginx-stable https://helm.nginx.com/stable
  2. Check the repo list

    Terminal window
    helm repo ls
  3. Search the nginx

    Terminal window
    helm search repo nginx
  4. Pull the nginx-ingress from the repository, it will download tgz file.

    Terminal window
    # run this in the home dir or other directory
    helm pull nginx-stable/nginx-ingress
    # extract the tgz
    tar xvf nginx-ingress-*
  5. Change directory to nginx-ingress and edit values.yaml file.

    Terminal window
    cd nginx-ingress
    # edit values.yaml
    vim values.yaml
    # locate ingressClass and change the variable below to true
    ...
    ingressClass:
    ...
    setAsDefaultIngress: true
    ...
  6. Install nginx-ingress using helm

    Terminal window
    helm -n ingress install nginx-ingress -f values.yaml . --debug --create-namespace
  7. Check the installation

    Terminal window
    kubectl -n ingress get all

    Get All Ingress using kubectl

  8. The EXTERNAL-IP is available and reachable, but since no resources use it, it display 404

    Access External IP but Not Found

  1. Add bitname repository to helm

    Terminal window
    helm repo add bitnami https://charts.bitnami.com/bitnami
  2. Check the repo list

    Terminal window
    helm repo ls
  3. Search the nginx, we will use bitnami/nginx for the webserver nginx

    Terminal window
    helm search repo nginx
  4. Pull the nginx from the repository, it will download tgz file.

    Terminal window
    # run this in the home dir or other directory
    helm pull bitnami/nginx
    # extract the tgz
    tar xvf nginx-* #make sure the nginx not nginx-ingress
  5. Change directory to metallb and edit values.yaml file.

    Terminal window
    cd nginx
    # edit
    vim values.yaml
    #locate these variables
    ...
    ingress:
    enabled: true
    ...
    hostname: nginx.demo.local # make sure this FQDN is pointing to the ingress IP
    ...
    ingressClassName: "nginx" # check using `kubectl get ingressclass`
    ...
  6. Install metallb using helm

    Terminal window
    helm -n demo install demo-app -f values.yaml . --debug --create-namespace
  7. Check the status, if the status still init, wait until running.

    Terminal window
    kubectl -n demo get all
    kubectl -n demo get ingress

    Get All and Ingress using kubectl

  8. If you configure the FQDN in DNS or /etc/hosts correctly to ingress IP address, it will show like this

    Access using FQDN

CEPH CSI - StorageClass Installation and Configuration

Section titled “CEPH CSI - StorageClass Installation and Configuration”

StorageClass Diagram

TODO - i don’t have CEPH cluster yet 🙈